Introducing agentOS 0.4 & Hosted VMs
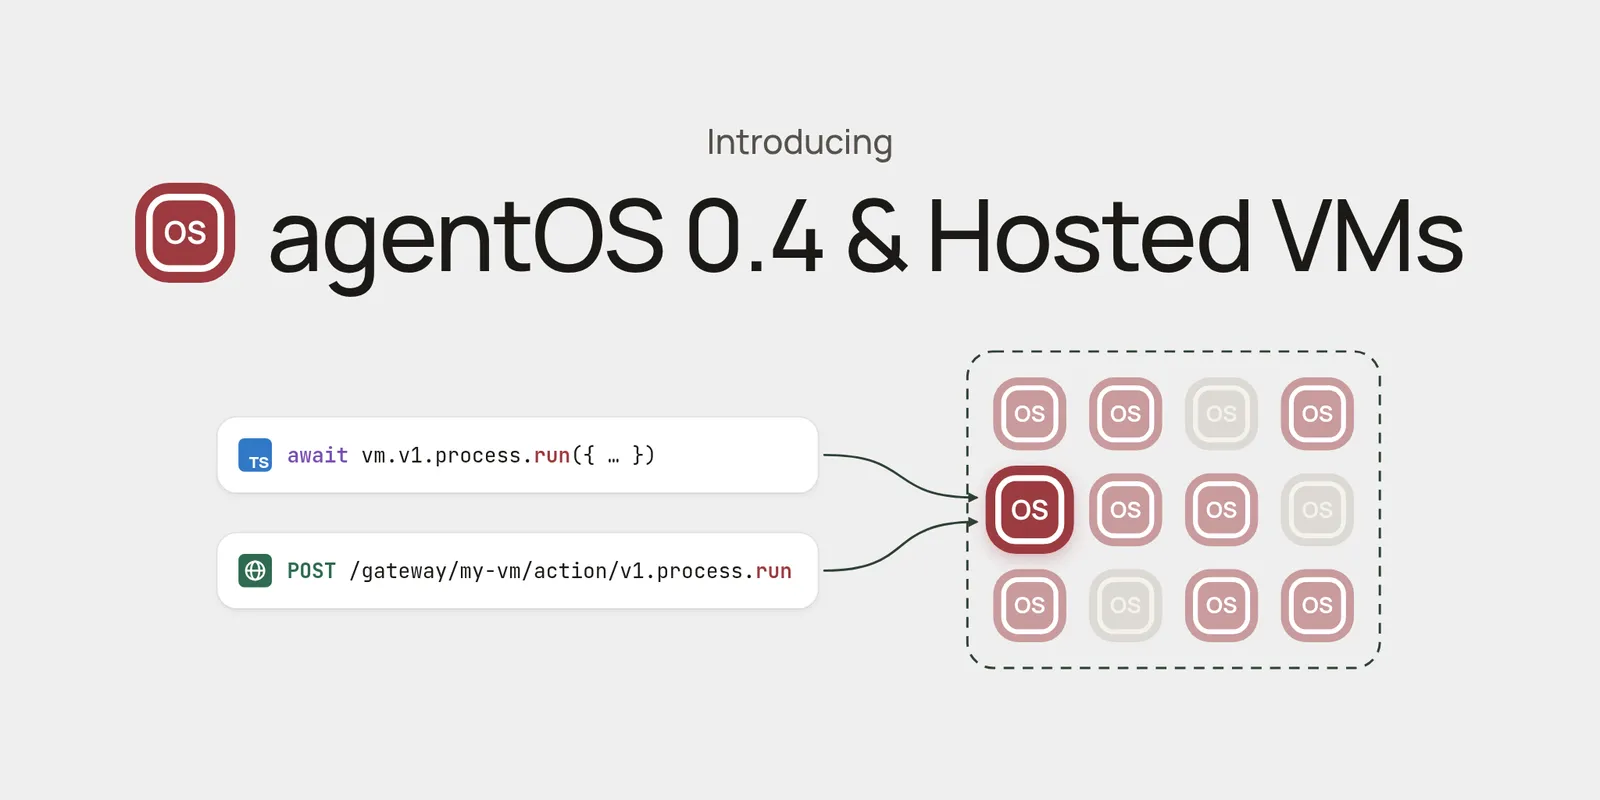
Create durable agentOS Hosted VMs by ID and control them from RivetKit or plain HTTP, with scoped JWTs for direct client access.
Introducing agentOS 0.4, with the Hosted VMs API:
- Create VMs by ID from the RivetKit client or plain HTTP
- One typed API for files, processes, terminals, software, networking, cron, and JavaScript, TypeScript, and Python
- Durable configuration that persists across restarts
- Output that survives reconnects
- Expiring previews for any port in the VM
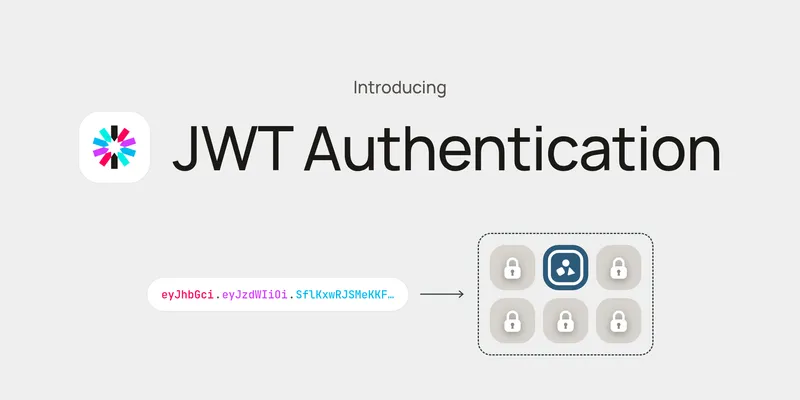
- Scoped JWTs so browsers can call a single VM directly
This release also adds:
- Dynamic software installation while a VM is running
- Better process management
- Better terminal API
- Better filesystem API
What are Hosted VMs?
agentOS works great as a library inside your own backend. Hosted VMs let you manage the same VMs remotely over HTTP.
Running agentOS as a library in your own backend gives you:
- ~5 ms cold starts: 4.8 ms p50, 92× faster than the fastest sandbox provider
- ~22 MB of memory per VM: 47× less than a 1 GB sandbox (the smallest size sandbox providers offer)
- Up to 254× cheaper to run than the cheapest sandbox provider, self-hosted on AWS ARM
Hosted VMs currently cold start in ~400 ms through the HTTP API. An upcoming update will make this much faster.
See the benchmarks and methodology.
Hosted VMs also give you:
- Multiplayer: many clients can connect to the same VM and watch its process and terminal output live.
- Multi-region: run each VM in the region closest to its users.
- Cron jobs: schedule commands in the VM, even while it sleeps between runs.
- Workflows: drive VMs from durable Rivet Workflows steps, so multi-step jobs resume where they left off.
- Sleeps when idle: idle VMs free their resources and wake with durable state when work arrives.
- Resource limits and observability: per-VM caps on processes, memory, files, sockets, and execution time, with warnings before a limit is hit.
Quickstart
Hosted VMs run on Rivet Cloud or on your own Rivet control plane.
Rivet Cloud
Create a project on Rivet Cloud
Sign up at the Rivet dashboard and create a new project.
Select agentOS as the product to run
When creating the project, choose agentOS as the product.
Point your client at it
Set RIVET_NAMESPACE and RIVET_TOKEN from your project, then create a VM by ID:
import { createAgentOsClient } from "@rivet-dev/agentos";

const client = createAgentOsClient({
	endpoint: "https://api.rivet.dev",
});

const vm = client.agentOS.getOrCreate(["my-vm"]);
curl -X PUT "https://api.rivet.dev/actors?namespace=$RIVET_NAMESPACE" \
  -H "Authorization: Bearer $RIVET_TOKEN" \
  --json '{
    "name": "agentOS",
    "key": "my-vm",
    "runner_name_selector": "services",
    "crash_policy": "sleep"
  }'
# → { "actor": { "actor_id": "…" }, "created": true }
Self-hosting
Run the Rivet control plane
The control plane requires an admin token. See Admin token.
export RIVET_ADMIN_TOKEN=$(openssl rand -hex 32)

docker run -p 6420:6420 \
  -e RIVET__AUTH__ADMIN_TOKEN="$RIVET_ADMIN_TOKEN" \
  rivetdev/engine
See the control plane guides for other ways to run it.
Run the agentOS worker
The worker is what actually runs your VMs. Register its services pool, then start it:
curl -X PUT "http://localhost:6420/runner-configs/services?namespace=default" \
  -H "Authorization: Bearer $RIVET_ADMIN_TOKEN" \
  --json '{"datacenters": {"default": {"normal": {}}}}'

docker run \
  --add-host=host.docker.internal:host-gateway \
  -e RIVET_ENDPOINT=http://host.docker.internal:6420 \
  -e RIVET_TOKEN="$RIVET_ADMIN_TOKEN" \
  rivetdev/services:0.2.0
Point your client at it
Set RIVET_TOKEN to the admin token, then create a VM by ID:
import { createAgentOsClient } from "@rivet-dev/agentos";

const client = createAgentOsClient({
	endpoint: "http://localhost:6420",
});

const vm = client.agentOS.getOrCreate(["my-vm"]);
curl -X PUT "http://localhost:6420/actors?namespace=default" \
  -H "Authorization: Bearer $RIVET_ADMIN_TOKEN" \
  --json '{
    "name": "agentOS",
    "key": "my-vm",
    "runner_name_selector": "services",
    "crash_policy": "sleep"
  }'
# → { "actor": { "actor_id": "…" }, "created": true }
Show me the code
These examples continue from the quickstart’s vm. Each HTTP example calls the same action at /gateway/$VM_ID/action/<action>, with a token in x-rivet-token.
Run Bash Commands
const result = await vm.v1.process.run({
	command: "sh",
	args: ["-c", "echo hello && ls /home/agentos"],
	options: { captureStdio: true },
});

console.log(result.stdout);
curl "https://api.rivet.dev/gateway/$VM_ID/action/v1.process.run" \
  -H "x-rivet-token: $VM_TOKEN" \
  --json '{"args": [{
    "command": "sh",
    "args": ["-c", "echo hello && ls /home/agentos"],
    "options": { "captureStdio": true }
  }]}'
Work With the Filesystem
await vm.v1.filesystem.writeFile({
	path: "/home/agentos/hello.txt",
	content: "Hello, world!",
});

const file = await vm.v1.filesystem.readFile({
	path: "/home/agentos/hello.txt",
});
curl "https://api.rivet.dev/gateway/$VM_ID/action/v1.filesystem.writeFile" \
  -H "x-rivet-token: $VM_TOKEN" \
  --json '{"args": [{
    "path": "/home/agentos/hello.txt",
    "content": "Hello, world!"
  }]}'

curl "https://api.rivet.dev/gateway/$VM_ID/action/v1.process.run" \
  -H "x-rivet-token: $VM_TOKEN" \
  --json '{"args": [{
    "command": "cat",
    "args": ["/home/agentos/hello.txt"],
    "options": { "captureStdio": true }
  }]}'
v1.filesystem.readFile returns raw bytes, which the JSON encoding of the HTTP API cannot carry, so the HTTP example reads the file through a process.
Run a Dev Server & Create Preview URLs
Start a Node.js server in the VM, then expose its port through a signed URL that expires on its own, or revoke it early. Open the preview at /gateway/$VM_ID@$VM_TOKEN/request followed by the returned path.
await vm.v1.filesystem.writeFile({
	path: "/home/agentos/server.js",
	content: `require("node:http")
		.createServer((req, res) => res.end("hello"))
		.listen(3000);`,
});

await vm.v1.process.spawn({
	command: "node",
	args: ["/home/agentos/server.js"],
});

const preview = await vm.v1.network.preview.create({
	port: 3000,
	ttlMs: 60 * 60 * 1_000,
});

await vm.v1.network.preview.expire({ token: preview.token });
curl "https://api.rivet.dev/gateway/$VM_ID/action/v1.filesystem.writeFile" \
  -H "x-rivet-token: $VM_TOKEN" \
  --json '{"args": [{
    "path": "/home/agentos/server.js",
    "content": "require(\"node:http\").createServer((req, res) => res.end(\"hello\")).listen(3000);"
  }]}'

curl "https://api.rivet.dev/gateway/$VM_ID/action/v1.process.spawn" \
  -H "x-rivet-token: $VM_TOKEN" \
  --json '{"args": [{"command": "node", "args": ["/home/agentos/server.js"]}]}'

curl "https://api.rivet.dev/gateway/$VM_ID/action/v1.network.preview.create" \
  -H "x-rivet-token: $VM_TOKEN" \
  --json '{"args": [{"port": 3000, "ttlMs": 3600000}]}'
# → { "output": { "path": "/preview/…/", "token": "…", … } }

curl "https://api.rivet.dev/gateway/$VM_ID/action/v1.network.preview.expire" \
  -H "x-rivet-token: $VM_TOKEN" \
  --json '{"args": [{"token": "…"}]}'
Use the Language Runtimes
Run JavaScript, TypeScript, and Python directly, with npm and pip installs built in.
await vm.v1.javascript.execute({ source: "console.log(1 + 2)" });
await vm.v1.typescript.execute({
	source: "const n: number = 3; console.log(n)",
});

const { value } = await vm.v1.python.evaluate({
	expression: "21 * 2",
});
curl "https://api.rivet.dev/gateway/$VM_ID/action/v1.javascript.execute" \
  -H "x-rivet-token: $VM_TOKEN" \
  --json '{"args": [{"source": "console.log(1 + 2)"}]}'

curl "https://api.rivet.dev/gateway/$VM_ID/action/v1.python.evaluate" \
  -H "x-rivet-token: $VM_TOKEN" \
  --json '{"args": [{"expression": "21 * 2"}]}'
Schedule Cron Jobs
await vm.v1.cron.schedule({
	name: "cleanup",
	expression: "0 * * * *",
	command: "rm",
	args: ["-rf", "/tmp/cache"],
});
curl "https://api.rivet.dev/gateway/$VM_ID/action/v1.cron.schedule" \
  -H "x-rivet-token: $VM_TOKEN" \
  --json '{"args": [{
    "name": "cleanup",
    "expression": "0 * * * *",
    "command": "rm",
    "args": ["-rf", "/tmp/cache"]
  }]}'
Give Clients Direct Access With JWTs
Keep your admin token on the backend and issue a JWT scoped to one VM. Browsers and other untrusted clients can then call that VM directly, and nothing else.
// Backend: issue a token for this VM only
const vmId = await vm.resolve();
const response = await fetch("https://api.rivet.dev/auth/tokens", {
	method: "POST",
	headers: {
		Authorization: `Bearer ${process.env.RIVET_TOKEN}`,
		"Content-Type": "application/json",
	},
	body: JSON.stringify({
		namespace: process.env.RIVET_NAMESPACE,
		subject: "user-123",
		duration: 3600,
		grants: [
			{ resource: "actor_gateway", target: { id: vmId }, operations: ["read"] },
		],
	}),
});
const { token } = await response.json();

// Client: call the VM directly
const userClient = createAgentOsClient({
	endpoint: "https://api.rivet.dev",
	namespace: "my-namespace",
	token,
});
const userVm = userClient.getForId("agentOS", vmId);
curl -X POST "https://api.rivet.dev/auth/tokens" \
  -H "Authorization: Bearer $RIVET_TOKEN" \
  --json @- <<EOF
{
  "namespace": "$RIVET_NAMESPACE",
  "subject": "user-123",
  "duration": 3600,
  "grants": [{
    "resource": "actor_gateway",
    "target": { "id": "$VM_ID" },
    "operations": ["read"]
  }]
}
EOF
# → { "token": "…", "expires_ts": … }
Dynamic Software Installation
Install and uninstall software from the software registry while a VM is running. Packages are immutable .aospkg files with real compiled tools, projected into /opt/agentos with commands on /opt/agentos/bin.
const installed = await vm.v1.software.install({
	source: {
		url: "https://packages.example.com/ripgrep.aospkg",
		digest: "sha256:…",
	},
});

const packages = await vm.v1.software.list({});

await vm.v1.software.uninstall({
	packageId: installed.source.packageId,
});
curl "https://api.rivet.dev/gateway/$VM_ID/action/v1.software.install" \
  -H "x-rivet-token: $VM_TOKEN" \
  --json '{"args": [{
    "source": {
      "url": "https://packages.example.com/ripgrep.aospkg",
      "digest": "sha256:…"
    }
  }]}'

curl "https://api.rivet.dev/gateway/$VM_ID/action/v1.software.list" \
  -H "x-rivet-token: $VM_TOKEN" \
  --json '{"args": [{}]}'

curl "https://api.rivet.dev/gateway/$VM_ID/action/v1.software.uninstall" \
  -H "x-rivet-token: $VM_TOKEN" \
  --json '{"args": [{"packageId": "sha256:…"}]}'
- Verified and cached: packages are checked against their digest and cached by content, so repeat installs and VM starts skip the download.
- Preloaded: workers warm commonly used packages on startup.
- Tracked in config: software is part of the VM’s durable configuration. Changes apply live to a running VM; otherwise
v1.vm.statusreports when a restart is needed. - Hosted and embedded: hosted VMs install from HTTPS URLs; embedded Core also accepts trusted local
.aospkgfiles.
Quality of Life Improvements
- Process management: run or spawn commands, stream output, write stdin, send signals, resize PTYs, inspect the process tree, and replay buffered output.
- Terminals: interactive terminals have explicit open, write, resize, wait, and close operations, with replayable output.
- Filesystem: batch reads and writes, recursive directory listing, move and remove, mount inspection, and filesystem export.
- Safety limits: resource, networking, execution, buffering, filesystem, and package limits have bounded defaults, and
vm.limitWarningevents fire as a VM approaches one.